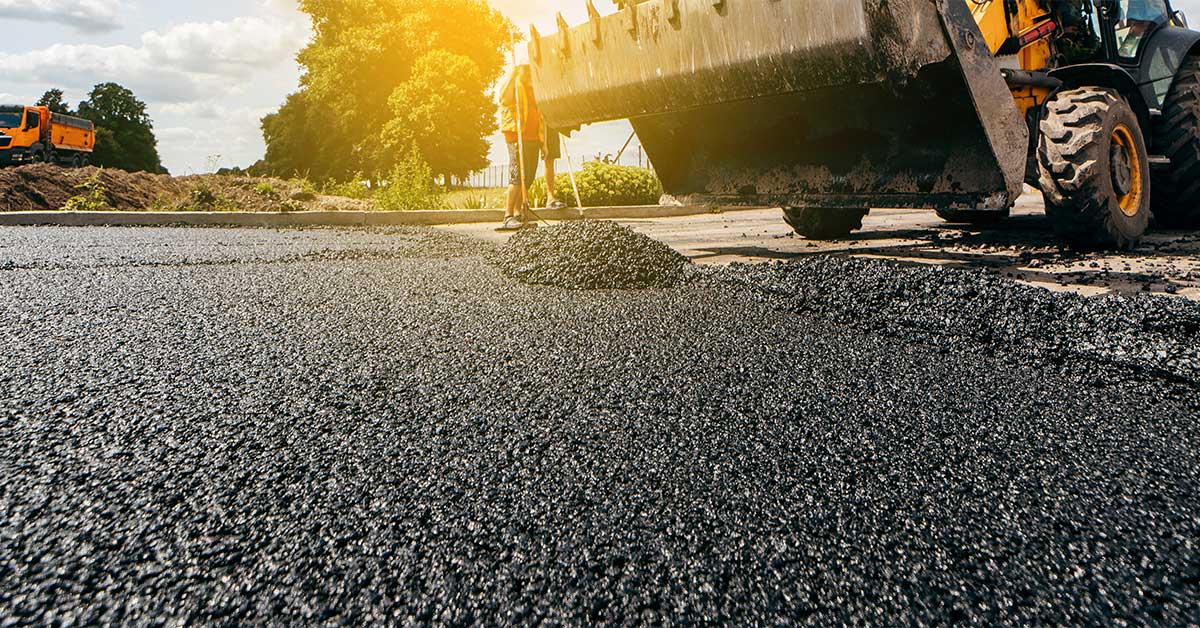
The installation of asphalt pavement is a crucial process for any property owner or manager looking to maintain their property’s appearance, safety, and functionality. Proper installation ensures that the asphalt pavement lasts for years and requires minimal maintenance, saving the property owner money in the long run. In this blog post, we will outline the 6 steps involved in asphalt pavement installation to give you an overview of what to expect during the process.
Whether you are installing a new asphalt pavement or replacing an existing one, these steps are essential to ensure a successful outcome.
6 Steps in Asphalt Pavement Installation
1. Demolition
The first step is the demolition and removal of the old asphalt. This involves breaking up and removing the existing pavement, as well as any underlying materials, such as gravel or soil. The removal process is crucial because it creates a clean slate for the new asphalt pavement to be installed on. The old materials are typically hauled away and disposed of properly, leaving the site ready for the next steps in the installation process.
2. Grading and sloping
The second step involves shaping the surface of the site to create the correct grade and slope for proper drainage. This step ensures that water flows away from the pavement, preventing damage and deterioration over time. Grading and sloping also helps to create a level surface for the new pavement, which improves its overall durability and lifespan.
3. Sub-base preparation
The sub-base preparation is the third step, which involves creating a stable foundation for the new pavement to rest on. This step typically includes adding a layer of aggregate material and compacting it to create a solid base. The sub-base layer helps to distribute the weight of the pavement evenly, preventing cracking and other forms of damage over time.
4. Proof rolling and undercutting
The fourth step is the proof rolling and undercutting process. Proof rolling is performed to check for any soft spots where the sub-base layer is inadequate. If soft spots are detected, the affected areas are undercut and repaired. Undercutting involves removing the soft or unstable material and replacing it with new aggregate material, which is then compacted.
5. Binder and surface course installation
The next step is the binder and surface course installation. The binder is the layer of asphalt that is applied after the sub-base and will serve as the base for the final layer. The surface course is the final layer of asphalt that provides a smooth and durable surface. Both the binder and surface course are critical to the performance and longevity of the pavement.
6. Asphalt installation
The final step is to install the new asphalt surface. This involves ensuring that the surface course is level, smooth, and free of any defects or irregularities. Once the surface is in place, it is compacted to ensure maximum density and strength. The newly installed surface is then allowed to cool and set before it can be used.
At Wright Construction Company, we have many years of experience in asphalt pavement installation. We understand the unique needs of our clients and are committed to delivering quality workmanship that meets their expectations. To know more about our asphalt pavement installation process, please contact us and an expert will assist you right away.
